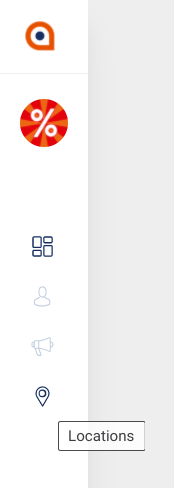
If you are a retail brand or your CPG is sold via select retailers, an overview of POIs is shown in the POI section. You can reach this admin section by clicking the location icon in the left navigation.
For users with 'edit' rights, it is possible to
- add additional POIs - e.g. when you have a popup or you want to track the traffic for a specific location
- group currently available POIs - e.g. when you want certain stores to be grouped or cluster on a region
Add a POI
Adding a POI is simple and works as follows:
- Make sure to select the proper brand on the top left where the logo resides as POIs are added on a brand level.
Remark: This is only due in case you have access to multiple brands.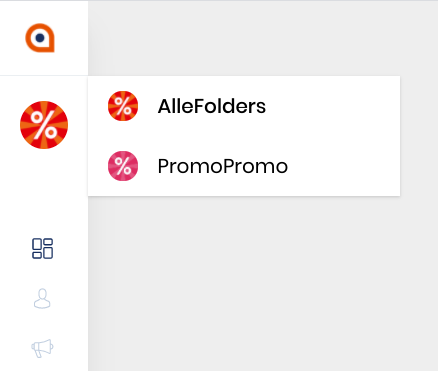
- Go to the POI overview by clicking the 'location icon' in the navigation column on the left.
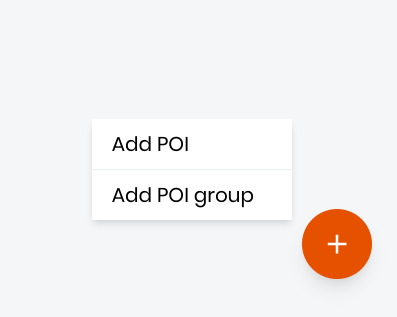
- On the overview page look for the + icon on the bottom right, click it once and select 'Add POI'.
- Add the details for your POI
- complete the form: give it a distinct name (e.g. 'Starbucks Antwerp') & optionally a description for internal use.
- search for the address by adding the address or the name of the venue (e.g. Starbucks Antwerp), select the venue / hit enter.
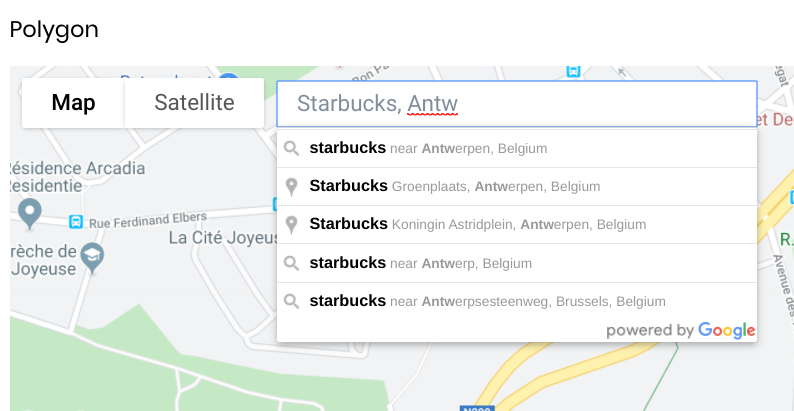
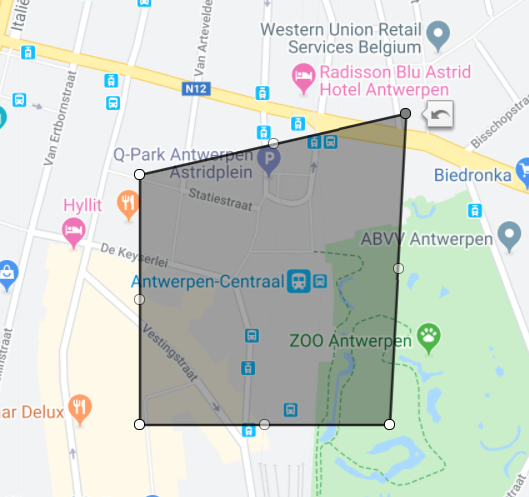
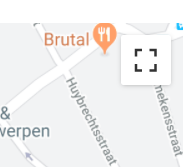
- add a polygon on the exact location you want to match visitors with by moving the circled dots at the different sides of the grey area. You can move as many dots as you want. Enlarge the map in case necessary on the top right.
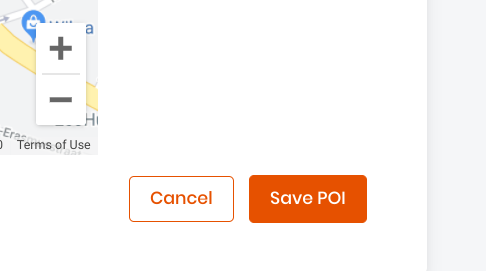
- Save the POI on the bottom right. A success message on top of the page confirms the POI is added successfully.
Group available POIs
In case you want to group available POIs, you need to have multiple POIs available (manually added as indicated above or default locations added for your brand(s)).
Grouping POIs works as indicated below:
- Select the brand on the top left where the logo resides to group POIs for the right brand. POI groups are createdon a brand level, just like manually added POIs are.
Remark: This is only due in case you have access to multiple brands.
- Go to the POI overview by clicking the 'location icon' in the navigation column on the left.

- On the overview page look for the + icon on the bottom right, click it once and select 'Add POI group'.

- Add the details for your POI
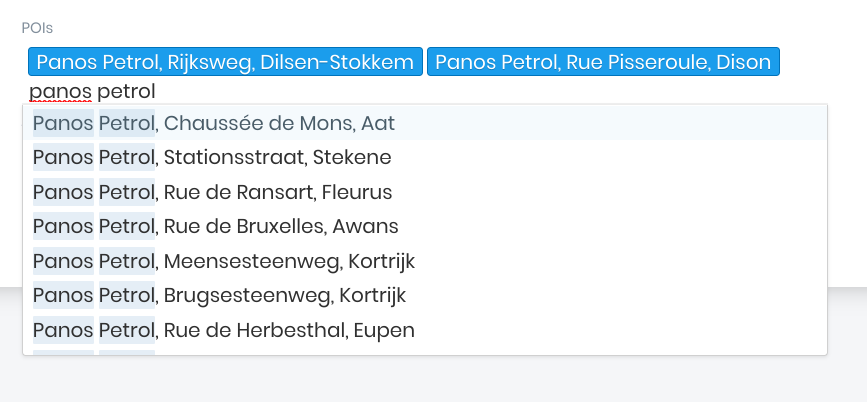
- complete the form: give it a distinct name (e.g. 'Panos petrol') & optionally a description for internal use (e.g. 'All Panos restaurants in a petrol station').
- type the POIs and add them one by one by selecting them.
- Make sure to save the new POI group on the bottom right. A success message on top of the page confirms the POI is added successfully.
